Post by Busted Knuckle Racing on Jan 31, 2005 10:41:09 GMT -5
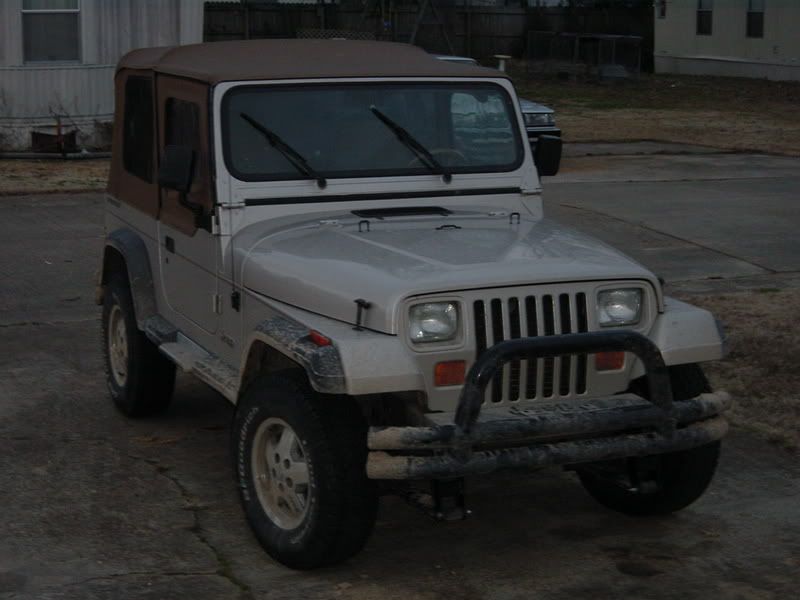
Well, this weekend, I showed up at JWPCustoms Fabworks and we installed a roll cage into project dailYJriver.
My design was to use the stock hoop and rear supports so that I could easily use the factory sholder safety belts while on the street. The design looks a little like this:
Well of course the design changed a little as the build went on. More about that later.
I started by removing all the seats and carpet. We then removed the stock windshield support bars. Those things are really thin, and a weak point on the factory roll bar.
Jason cut the stubs off the B-hoop with the porta-band:

We opted for a halo style hoop instead of an A-hoop like the design. After bending the 2" .134 wall tube just right, it was tacked in place:

Keep in mind that this is a daily driver and must still clear the soft top. Thats the reason for the hardware you see in the picture. The next step was to adjust the height of the front of the hoop and install the legs beside the dash. Jason bent them both perfect the first time and got them to fit in the 2-1/8" space between the dash and doors. We notched them and tacked them in.

We decided that it would be cooler to have three spreader bars up front. We started on the middle one. We put a bend at 10 inches from the main hoop. The head clearance was great and just fit under the soft top.

The other two spreader bars, we put the bend at 12" so that from the side, the bends would line up perfectly(or so we hoped). It turns out that we guessed right and it looks perfect.

Next we had to decide how to do the rear spreaders. The design called for straight bars but after cutting one and looking at it, we went to Cathy for her opinion. She recommended that we put a bend in them and so that is what we did. I think it really turned out good.

The only other thing we had to bend was the harness bar. This proved to be fairly difficult. After notching and cutting and notching again, we got it to fit. The next step was to pull the entire cage out so that it could be completely welded up. Thanks to Cathy for grinding in her sandles ;D :


We decided to tie the cage to the frame using bushings instead of a solid mount:

Sunday I painted the cage. I roughed up all the factory paint and layered on Rustoleum Hammerite black paint. I chose this paint because it is great for covering up imperfections. Some of the tubing had a little pitting from being outside, but it covered great.
Finished product:


Thanks to Jason for his time and expertise. Thanks to Cathy for the meals and design consultations.
My design was to use the stock hoop and rear supports so that I could easily use the factory sholder safety belts while on the street. The design looks a little like this:

Well of course the design changed a little as the build went on. More about that later.
I started by removing all the seats and carpet. We then removed the stock windshield support bars. Those things are really thin, and a weak point on the factory roll bar.
Jason cut the stubs off the B-hoop with the porta-band:

We opted for a halo style hoop instead of an A-hoop like the design. After bending the 2" .134 wall tube just right, it was tacked in place:

Keep in mind that this is a daily driver and must still clear the soft top. Thats the reason for the hardware you see in the picture. The next step was to adjust the height of the front of the hoop and install the legs beside the dash. Jason bent them both perfect the first time and got them to fit in the 2-1/8" space between the dash and doors. We notched them and tacked them in.

We decided that it would be cooler to have three spreader bars up front. We started on the middle one. We put a bend at 10 inches from the main hoop. The head clearance was great and just fit under the soft top.

The other two spreader bars, we put the bend at 12" so that from the side, the bends would line up perfectly(or so we hoped). It turns out that we guessed right and it looks perfect.

Next we had to decide how to do the rear spreaders. The design called for straight bars but after cutting one and looking at it, we went to Cathy for her opinion. She recommended that we put a bend in them and so that is what we did. I think it really turned out good.

The only other thing we had to bend was the harness bar. This proved to be fairly difficult. After notching and cutting and notching again, we got it to fit. The next step was to pull the entire cage out so that it could be completely welded up. Thanks to Cathy for grinding in her sandles ;D :


We decided to tie the cage to the frame using bushings instead of a solid mount:

Sunday I painted the cage. I roughed up all the factory paint and layered on Rustoleum Hammerite black paint. I chose this paint because it is great for covering up imperfections. Some of the tubing had a little pitting from being outside, but it covered great.
Finished product:


Thanks to Jason for his time and expertise. Thanks to Cathy for the meals and design consultations.


 WHY DIDNT YOU CALL ME!!
  I would have loved to help out and see just how difficult it is to do all that.


